Showing posts with label VIA. Show all posts

Wednesday, January 5, 2011

15 Bean Soup

Hey look, I'm back! Again. Hopefully this isn't going to become my standard greeting for these posts; hopefully I'm going to start doing better about posting more frequently. You'd think that with the amount of time I spend in my kitchen I could have a post up nearly every day, but...clearly that hasn't been the case. Yet. I guess part of the problem is that a lot of the time when I'm baking/cooking, I'm in too much of a hurry to take pictures--and, mediocre though my photography skills are, I still like to have at least one photo to accompany these recipes.

But, excuses aside, here (finally) is the recipe for the 15 Bean Soup that I made waaaaay back in the year 2010. I'm pretty sure I made this during my VIA baking spree...and I know that for some [highly intelligent] reason I decided to make this in the middle of the night. [Brilliant, I know.] Actually, the majority of my baking that month occurred in the wee small hours of the morning (accompanied, incidentally, by my Frank Sinatra Pandora station); I didn't sleep much in October.

But I digress; enough of my rambling. Here's the recipe, which was a huge hit with my coworkers (and our milkman, actually). I mostly followed the recipe on the package, but I did add my own little twist to it...


15 Bean Soup

20 oz. package 15 Bean Soup (I used Hurst's)
1 lb. sausage, cooked
15 oz. can stewed or diced tomatoes
1 tsp chili powder
Juice of 1 lemon
1-2 cloves garlic, minced
1 packet VIA Ready-Brew coffee (I used Italian Roast)

1. Soak beans in 2 quarts of water overnight, or at least 8 hours.
2. Drain the water. Add 2 quarts of water and sausage.
3. Bring to a boil, reduce heat and simmer uncovered for 2 1/2 hours.
4. After simmering, add onion, tomatoes, chili powder, lemon, garlic, and VIA Ready-Brew.
5. Simmer for another 30 minutes.
6. Add contents of ham packet (included in the soup package) 1-2 minutes before cooking is completed. Add salt and pepper to taste.

I also made homemade French bread to go with this, which (I think) worked quite nicely.

Enjoy!

Monday, October 11, 2010

Chocolate espresso sandwich cookies

"All you need is love. But a little chocolate now and then doesn't hurt." - Charles Schulz


I've joked several times recently that I think I'm on the verge of becoming addicted to reading food blogs, and though that may be a bit of an exaggeration, it is true that I could easily spend hours perusing the many delectable recipes contained on these sites and dreaming of future baking endeavors. This particular recipe - chocolate espresso sandwich cookies - comes from one such blog that I discovered on the first night of my VIA baking frenzy (a blog to which I'm sure I will be going back frequently for more great recipes). Though these cookies weren't necessarily my favorite, I was told that customers loved them and were asking for the recipe. So, with no further ado, here it is:

Chocolate espresso sandwich cookies

For the filling:
1/2 cup heavy cream
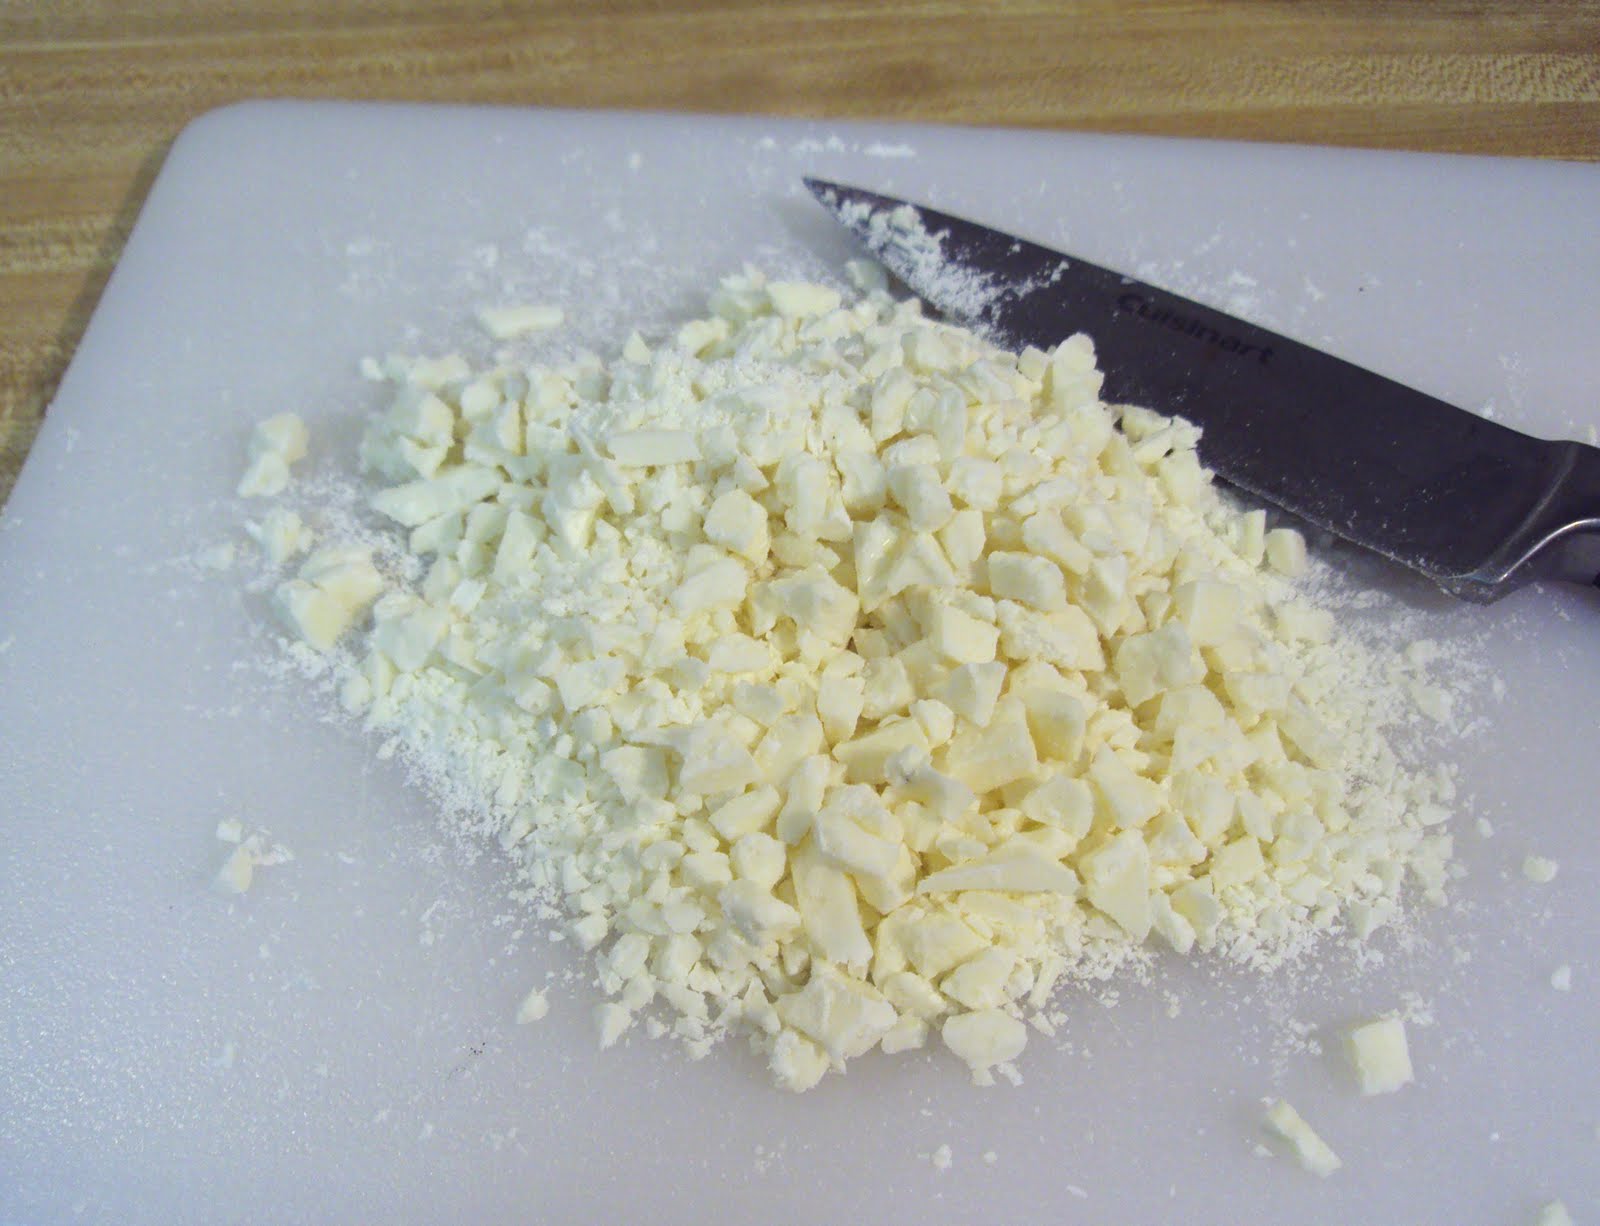
8 ounces white chocolate, finally chopped
1/2 teaspoon flavored VIA


For the cookies:
3/4 cup granulated sugar
1 1/2 cup plus 3 tablespoons all-purpose flour
3/4 cup plus 1 tablespoon unsweetened cocoa powder
1/2 teaspoon baking soda
1 1/2 teaspoons salt
1/2 teaspoon mocha-flavored VIA
15 tablespoons unsalted butter, at room temperature and cut into 3/4-inch pieces

To make the filling:
1.
In a small saucepan,
bring the cream to boil over medium heat. Remove from the heat and add the white chocolate and VIA
. Make sure all the chocolate is covered by the cream. Let stand for 1 minute, then whisk the white chocolate until completely melted.

2. Transfer the filling to a small bowl and let it cool to room temperature. The original recipe says to then cover it and refrigerate for 30-60 minutes until a thick consistency is reached, but I forgot to do this both times and it seemed to work out fine. So, either way :) If you do refrigerate the filling and it gets too hard, you can microwave it for a few seconds.


To make the cookies:
1.
Position the racks in the lower and upper thirds of the oven and preheat the oven to 350 degrees F. Line two baking sheets with parchment paper.

2. The original recipe says to use a stand mixer fitted with a paddle attachment; as you see, my mixer is a 30+ year-old 3-speed handheld without any special attachments...and it worked just fine. So, whichever type you have, combine sugar, flour, cocoa powder, baking soda, salt, and mocha-flavored VIA in a large bowl.
With the mixer running, add the butter a few pieces at a time. The mixture will have a sandy texture at first and then will begin to form pebble-size pieces. As soon as the dough starts to come together, stop the mixer.


3.
Transfer the dough to a board and use the heel of your hand or a pastry scraper to shape the dough into a block about 5 by 7 inches. Cut the block into two pieces.

4.
One at a time, roll each block of dough between two pieces of lightly floured parchment paper until about 1/8-inch thick. Using a cookie cutter (or whatever round object you have on hand; oddly enough, there was not a round cookie cutter to be found in my assortment of shapes, so I had to improvise), cut into 2 inch rounds. Place 1/2 to 1 inch apart on the prepared baking sheet.


5. Bake for 12-15 minutes, rotating the sheets halfway through the baking. Remove from the oven and cool on the sheets for 2-5 minutes. Transfer the cookies to a cooling rack and cool completely.

To assemble the cookies:
1. Place half of the cookies upside-down on a work surface. Whip the filling lightly with a whisk to loosen it. It will lighten in color and fluff up. Don't overwhip or the filling may begin to separate.

2. If you have this/want to be fancy, transfer the filling to a pastry bag fitted with a 1/4-inch plain tip. I just used a teaspoon. Pipe or dollop one teaspoon of filling in the center of each upside-down cookie. Gently, using your fingers, press the cookies together until the filling comes just to the edges.


And there you have it!

Baking with VIA

As mentioned in my previous post, the creation of this blog was prompted by all the baking I've been doing this past week for my job. (Warning: shameless plugs ahead.) I work at Starbucks, and last Tuesday we came out with a new product - flavored VIA instant coffee - which has spurred quite the baking spree for me. We've had regular VIA for about a year now and iced VIA since this summer, and now as of last week, we have VIA available in vanilla, mocha, cinnamon spice, and caramel. Though I generally prefer to drink my coffee black (particularly if it's a nice french-pressed cup of Sumatra), I'm still really excited about these new flavors for the little twist they add to recipes. Over the past 7 days (err, well, nights, mostly), I've spent lots of time in my kitchen playing around with the different flavors and experimenting with different recipes. Some have turned out fairly well (others less so), but the general response from customers and coworkers alike has been positive. Several people have asked me for the recipes I've used, so I'll be using this blog over the next few days to post both those that worked well and those that were less successful.

So, here is the first recipe (and my personal favorite):

Cinnamon Chip Scones


1 cup sour cream
1 teaspoon baking soda
4 cups all-purpose flour
1 cup white sugar*
2 teaspoons baking powder
1/4 teaspoon cream of tartar
1 teaspoon salt
1 packet Cinnamon Spice VIA
1 10-ounce package cinnamon chips
1 cup butter
1 egg
4 teaspoons cinnamon*

1. Preheat oven to 350 F degrees.
2. Spray two baking sheets with nonstick cooking spray (or line with parchment paper).
3. Combine sour cream and baking soda in small bowl.
4. Combine flour, sugar, baking powder, cream of tartar, salt, and Cinnamon Spice Via in large bowl.
5. Cut in butter until mixture resembles fine bread crumbs.
6. Fold in cinnamon chips.
7. Combine egg with sour cream mixture; add cinnamon.
8. Gently fold sour cream mixture into flour mixture until moistened.
9. Knead dough briefly, no more than 10 times (it will be sticky; it's ok).
10. Divide dough into two; place on baking sheet (or, I use extra parchment paper on the counter), and pat into a circle with 3/4 inch thickness.
11. Cut each round into 6-8 wedges.
12. Place wedges on baking sheet with at least three inches in between each one.
13. Bake 15-20 minutes, or until golden brown.

* Note: Since the Cinnamon Spice VIA already has sugar and cinnamon in it, I decreased the amount of these ingredients from the original recipe just slightly (i.e. I used just a little less than 1 cup of sugar and about 3 3/4 teaspoons cinnamon). You can play around with it according to your taste preferences.

Enjoy!